How to storyboard AI video ads before you spend a credit
AI video is too expensive to art-direct by re-rolling. Storyboard with cheap stills first, get sign-off, then animate only the approved frames. A step-by-step playbook.
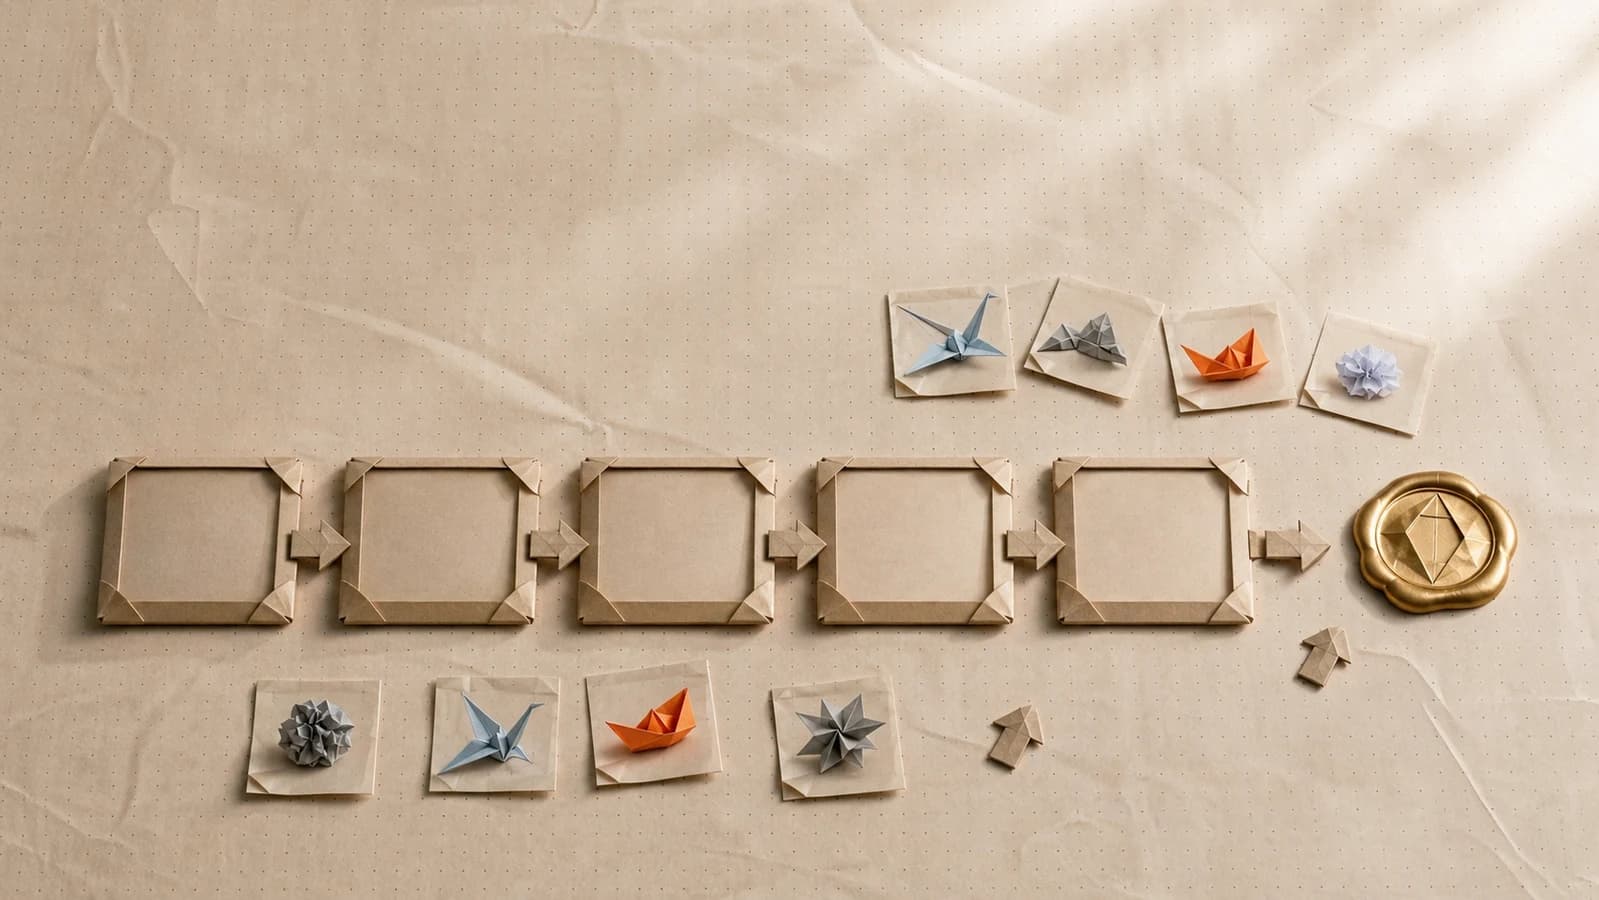
Storyboarding an AI video ad means generating every shot as a still image first (cheap to make and easy to review) and only sending frames to a video model once they're approved. The approved frames become the video's actual inputs, driving image-to-video generation shot by shot, so the board you sign off is the ad you get.
Film crews have always boarded before they shoot, because mistakes cost less on paper than on set. The same logic applies inside a fully AI pipeline, just with different prices: a still costs cents and arrives in seconds, while a video clip costs dollars and minutes, and every re-roll is a fresh roll of the dice. This playbook walks through the storyboard-first workflow: what you'll have at the end is a reviewed, approved board and a set of video clips that match it.
Why storyboard AI video at all?
Two reasons: money and sign-off.
The money part is simple arithmetic. Video models price by the second and charge you per attempt, whether or not the attempt is usable. OpenAI's own Sora 2 prompting guide is upfront that "using the same prompt multiple times will lead to different results." Re-rolling is the intended way to get options. That's fine when each attempt costs cents. It's painful when you're art-directing a 30-second ad one 8-second clip at a time and each take burns real budget. Iterating on stills first means the expensive medium only ever renders decisions you've already made.
The sign-off part matters more in a team. A storyboard is a review surface: six frames on one screen that a brand manager can approve or annotate in five minutes. This is why pre-production tools have always sold boards as the place to catch problems early. Storyboard software company Boords describes boards as where you catch issues "before they become expensive fixes," and that framing predates AI entirely. Waiting for a stakeholder to reject a finished clip is the expensive version of a note they could have left on a still.
What you need before you start
- A script or concept broken into beats: what happens, in what order, in roughly 30 seconds.
- Your brand inputs: logo, palette, product shots, and any character or mascot references. If your team keeps these in a brand kit, this step is already done.
- An image model and a video model that accept image input. The pairing is the whole trick: the image model makes the frames, the video model animates them.
- A place to run both steps where outputs from one feed the other. A visual canvas makes the handoff explicit, but the workflow works anywhere you can keep files organized.
The storyboard-first workflow, step by step
Step 1: Break the ad into a shot list
Video models generate short clips. Sora, for instance, produces clips at 4, 8, 12, 16, or 20 seconds per its API documentation. A 30-second ad is therefore not one generation; it's four to eight shots you'll stitch together. Write the list before you touch a model: one row per shot, with the framing, the subject, the action, the duration, and what on-screen brand element it carries.
Keep one action per shot. "She picks up the bottle and walks outside and the logo appears" is three shots pretending to be one, and it will fail as a single generation far more often than it succeeds. If you already use structured prompting for video, the shot list is the same set of named components, drafted one level earlier.
Step 2: Generate the frames as stills
Now generate one image per shot: the composition as you want it at the moment the shot starts. Feed the image model your brand references so the frames come out in your visual world rather than the model's default one, and describe the framing in camera terms: "low-angle medium shot," "overhead close-up," "product centered, negative space left for copy."
Generate a handful of options per shot and pick. This is the step where re-rolling is nearly free, so spend your iterations here: fix the wrong prop, the off-palette background, the weird hand, the mascot that drifted off-model. Every one of those problems is dramatically cheaper to catch as a still than to discover eight seconds into a rendered clip.
Annotate each chosen frame with its motion note: the camera move and action that will happen during the shot. The still is the "where we start"; the note is the "what happens next."
Step 3: Review the board and get sign-off
Put the chosen frames in sequence and look at the ad as a whole, before any video exists. Does the sequence read? Does the product appear early enough? Is frame four the same character as frame two? This is also the moment to hand the board to whoever approves creative. As a set of stills, their notes arrive while changes are still cheap.
If pacing is a concern, cut the stills together with rough timing as a slideshow animatic. It's a crude preview, but crude is the point: pre-production tools like Boords exist to test pacing with animatics before production spends anything, and the AI version of that discipline is identical.
Treat approval as a hard gate. Frames that pass this step are locked; everything downstream assumes they don't change.
Step 4: Animate only the approved frames
Send each locked frame to your video model as image input, with the motion note as the prompt. The approved still becomes the first frame of the clip, which is exactly what image-to-video generation is for, and why this workflow keeps videos on-brand: the video inherits the composition, palette, and product placement your reviewer already signed off on.
For shots where the ending matters as much as the start (a transition into a logo lockup, a product turning to face camera), generate a second still for the end state and use first-and-last-frame generation. Google's Veo 3.1 supports exactly this: per the official announcement, you provide "a starting and an ending image" and the model generates the transition between them. The same release also accepts up to three reference images to hold a character or object consistent across shots. Feed it the same references you used for the stills.
You'll still re-roll some clips; motion has its own failure modes. But you're re-rolling within an approved composition, not searching for one. The difference in both cost and review cycles is the entire payoff of the playbook.
Step 5: Extend, assemble, and adapt
Stitch the approved clips in order and check the cut against the animatic. Where a shot needs to breathe longer than one generation allows, scene extension helps: Veo 3.1 can generate new clips that continue from the final second of the previous one, which Google says supports videos "lasting for a minute or more."
Then adapt. The board you approved is now a reusable asset: swap the product frame and re-run for the next SKU, regenerate stills in a different aspect ratio for vertical placements, or hand the frame-and-motion-note pairs to a different video model when a shot type suits one engine over another.
Variations on the playbook
- UGC-style ads: board the beats (hook, demo, proof, CTA) even though the style is handheld and casual. AI UGC ads drift off-message fastest when they're improvised straight to video.
- Multi-market campaigns: lock one board, then regenerate stills per market (setting, casting, on-screen text) while the shot structure stays fixed.
- Product launches: board once against placeholder renders, then re-run the same frames when final product photography lands.
Common mistakes
Boarding in a style the video model can't hold. Generate one test clip from one frame early, before locking the full board, to confirm your image style survives motion.
Cramming a scene into a shot. If the motion note has "then" in it twice, split the shot.
Treating the board as decoration. If reviewers approve the board but the team still art-directs clips by re-rolling from text prompts, you've paid for pre-production and thrown it away. The frames are inputs, not documentation.
Skipping the end-frame on transitions. Cuts between independently generated clips are where AI ads visibly fall apart. First-and-last-frame pairs on transitional shots are the cheapest fix available.
The runnable version
Boarding by hand across two tools works. Wiring it once as a repeatable flow works better: image generation with brand references feeding review, review feeding image-to-video, one shot list driving the whole run. That's the shape this workflow takes on a node canvas, and it's the pattern behind several of our templates: set the pipeline up once, then every future ad is a new shot list through the same board-first machine. More playbooks like this one live in the playbooks hub.
This playbook is a pipeline.
Build it once on the canvas, wire in your brand kit, and rerun it every time the brief changes. Free to start, no card.
Common questions.
Why storyboard an AI video instead of just generating it?
Video generation costs many times more than image generation, per attempt, and every re-roll returns a different clip. Storyboarding moves the expensive decisions — composition, sequence, brand look — into cheap, reviewable stills. You only pay video prices for shots that have already been approved.
What should each storyboard frame include?
One shot's worth of information: the framing and camera position, the subject, the setting, and the brand elements that must appear. Write the intended camera move and duration next to the frame as text — the still shows the composition, the note tells the video model what happens during the shot.
How many frames does a 30-second AI video ad need?
Most video models generate clips of roughly 4 to 12 seconds, so a 30-second ad is typically 4 to 8 shots. One storyboard frame per shot is the minimum; add a second frame for any shot where you want to control both the start and end composition with first-and-last-frame generation.
Can I use my storyboard frames as the actual video input?
Yes — that's the point of doing it with AI images. Image-to-video models accept a still as the first frame of the clip, and models like Veo 3.1 accept a first and last frame pair. The frame your reviewer approved becomes the literal starting pixel grid of the shot, not just a reference.