How to repurpose webinars into social clips with AI
A 45-minute webinar holds a month of social content. This playbook walks through finding the moments, cutting the clips, captioning, resizing, and shipping them on-brand with AI.
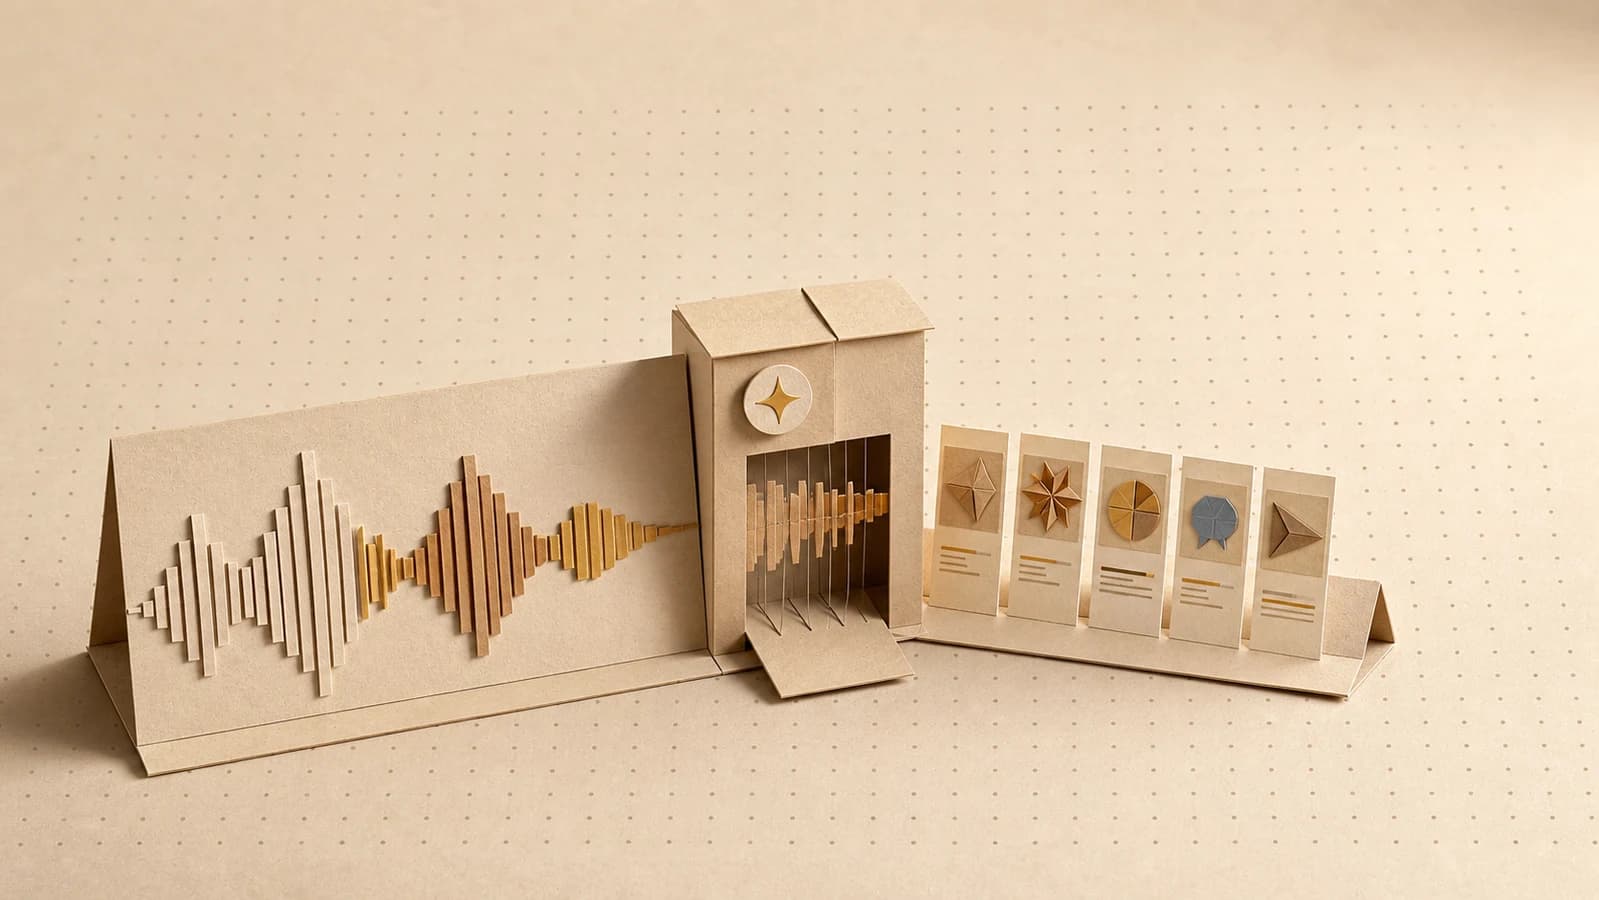
Repurposing a webinar into social clips means treating the recording as source footage: transcribe it, find the 8–15 moments that stand alone, cut each into a 30–90 second clip, then caption, resize, and brand every cut for the platform it ships to. The webinar was the expensive part. The clips are close to free.
Most teams already believe this. Wistia's 2026 State of Video report found almost 90% of teams reuse webinar content, and rated webinars the second most impactful video type they make. The gap is in execution: "we should clip that" turns into one awkward two-minute excerpt posted a week late. This playbook is the repeatable version. At the end you'll have a clip pipeline you can run on every recording (webinar, podcast, demo, or conference talk) in an afternoon instead of a sprint.
Why webinar clips are the highest-leverage repurposing you can do
The economics are lopsided in your favor. A webinar already cost you the hard things: a subject-matter expert's prepared thinking, a live audience's questions, and 45 minutes of footage with real faces and real voice. None of that can be generated. What can be automated is everything downstream (transcription, moment-finding, cutting, captioning, resizing, and copywriting), which is exactly the work that used to make clipping feel like a second production.
The demand side holds up too. Wistia's report found that on-demand webinars keep getting plays for up to 12 months after the live event, that over half of companies already repurpose video into social clips, and that 60% use those clips to drive traffic back to their site. The recording has a long tail; clips are how you keep feeding it.
One more reason this matters now: shorter cuts genuinely perform differently. In Wistia's engagement data, the shorter the video, the higher the engagement rate, and LinkedIn's official video ad guidance cites an internal study where videos under 30 seconds saw a 200% lift in view completion rates. A clip has a different job than the recording it came from, and the length data reflects that.
What you need before you start
- A recording with a usable transcript. Any speech-to-text model gets you there; timestamps matter more than perfect punctuation, because you'll cut against them.
- Your brand inputs: fonts, colors, logo, and an end-card or lower-third treatment. If these live in a brand kit, the styling steps below inherit them automatically.
- Target platforms and their shapes. Decide up front which of 9:16, 1:1, and 16:9 you're shipping. Wistia found 76% of teams already resize video per platform.
- A place to run the steps in sequence, where the transcript feeds the moment-finder and the cuts feed the captioner. A visual canvas makes that chain explicit and reusable; the workflow also works as a folder and a checklist, just slower.
The webinar-to-clips workflow, step by step
Step 1: Transcribe, then work from text
Don't scrub video looking for good moments. Read for them. A transcript turns an hour of footage into ten minutes of skimming, and it's the input every later AI step needs anyway. Keep speaker labels and timestamps.
Step 2: Find the moments that survive without context
Feed the transcript to a text model with a narrow brief: find passages that make a complete point in under 90 seconds, with no setup required. Good candidates are specific claims ("most teams get X wrong because…"), numbers with a story attached, live demo beats, sharp audience Q&A answers, and anything the speaker said with visible conviction. Ask for timestamps, a one-line summary of each moment, and a reason it stands alone.
Then cull by hand. The model will nominate 20 moments; you'll keep 8–15. This is the step where human judgment earns its keep. The model finds coherent passages, but you know which ones your audience actually cares about. Expect the discard pile to include anything that references "as I said earlier" or leans on a slide the clip won't show.
Step 3: Cut clips at 30–90 seconds
Cut each moment at its natural boundaries, then trim the on-ramp. Speakers almost always take two sentences to get to the sentence that matters, and the clip should open on that one. Most cuts land between 30 and 90 seconds. Platform ceilings are generous (YouTube officially treats square or vertical video up to three minutes as a Short), but the completion-rate data above should make you stingy: use length the moment earns, not the length the platform allows.
Step 4: Burn in captions, styled to your brand
LinkedIn autoplays feed video with the sound off and its guidance is blunt about the consequence: think like a silent film director, and consider burning subtitles into the file. Do it for every clip, every platform. Generate captions from the transcript you already have, break them into one-to-two-line segments, and style them with your brand font and a high-contrast treatment. Burned-in captions can't be lost when a clip is downloaded and reposted, and they're the single biggest legibility upgrade a talking-head clip can get.
Step 5: Resize per platform, and protect the frame
One master cut becomes three aspect ratios: 9:16 for Reels, Shorts, and TikTok; 1:1 for feeds; 16:9 for YouTube and embeds. Reframing a webinar's landscape recording into vertical means choosing what stays in frame. Keep the speaker's face in the upper two-thirds and leave the bottom clear for captions. Add your lower-third and end card from the brand kit so every clip closes with the same handoff: who this was, where the full session lives.
Step 6: Write the copy, one hook per clip
Each clip ships with platform copy: a hook line that restates the moment's claim (not "watch this clip from our webinar"), and a pointer to the full recording. Draft these with a text model straight from the moment summaries in step 2, then edit for voice. If your team runs a review gate before publishing, this is the batch that goes through it: twelve clips with captions and copy is one review session, not twelve.
Variations on the same pipeline
The workflow doesn't care that the source was a webinar. A podcast episode runs through it unchanged, minus the reframing (add a waveform or static brand card instead). A recorded product demo yields fewer but stronger moments. Lead with the "aha" interaction, not the setup. A conference talk works too, with one caution: check you have rights to the recording before you clip it.
The bigger variation is cadence. Teams that do this well don't clip one webinar as a project; they run every recording through the same pipeline as a habit. That's the argument for building it once as a saved workflow. The second run is where the time savings actually show up, and the one-blog-post-into-a-week-of-social approach composes with it naturally, since the webinar transcript is also a blog post waiting to happen.
Common mistakes
Clipping chronologically instead of by strength. The best moment is rarely in the first ten minutes. Rank moments by how well they stand alone, and lead your posting schedule with the strongest one.
Shipping one aspect ratio everywhere. A letterboxed landscape clip in a vertical feed reads as neglect. If you only have capacity for one extra format, make it 9:16. It covers the placements where clips work hardest.
Skipping captions on "just this one." The muted-autoplay feed doesn't make exceptions, and neither should the pipeline. Captioning is automated; there's no cost argument left.
Posting clips with no destination. A clip that doesn't point anywhere is a dead end. Wistia found 60% of teams use social clips to link back to their site. Give every clip the same job: send the interested viewer to the full recording or the related page.
The runnable version
Every step above is a node: transcript in, moments out; moments in, cuts out; cuts in, captioned and resized brand-styled clips out, with copy attached. Chain them once on a canvas, save the chain, and the next webinar is an input, not a project. Browse templates for prebuilt repurposing chains you can adapt, or start from the AI content workflow guide if you're building the pipeline from scratch.
This playbook is a pipeline.
Build it once on the canvas, wire in your brand kit, and rerun it every time the brief changes. Free to start, no card.
Common questions.
How many social clips can one webinar produce?
A 45–60 minute webinar usually yields 8 to 15 usable moments: distinct claims, demos, stats, and answers that stand alone without setup. After platform cuts — one vertical, one square, one landscape version of the best 5 or 6 — you have several weeks of posts from a single recording.
How long should webinar clips be for social media?
30 to 90 seconds covers most feeds. LinkedIn's own guidance found videos under 30 seconds saw a 200% lift in view completion, while YouTube Shorts officially accepts vertical or square video up to three minutes. Cut to the moment's natural length, then trim the setup — clips almost always get shorter in editing.
Do webinar clips need captions?
Yes. LinkedIn autoplays feed video muted and officially recommends burning in subtitles, because a large share of members watch with sound off. Burned-in captions also survive reposting and downloads, unlike platform-side caption files, and they give you a place to apply brand fonts and colors.
Is it worth repurposing an old webinar?
Usually. Wistia's 2026 State of Video report found on-demand webinars keep getting plays for up to 12 months after the live event, and a third are still pulling plays at three months. If the content hasn't dated, the recording is still an asset — clips just give it new distribution.