How to give Claude or ChatGPT a canvas with MCP (step by step)
Add a canvas to Claude or ChatGPT in about two minutes with an MCP connector, pick the right one for the job, and build your own MCP App if nothing fits. Includes setup, troubleshooting, and code.
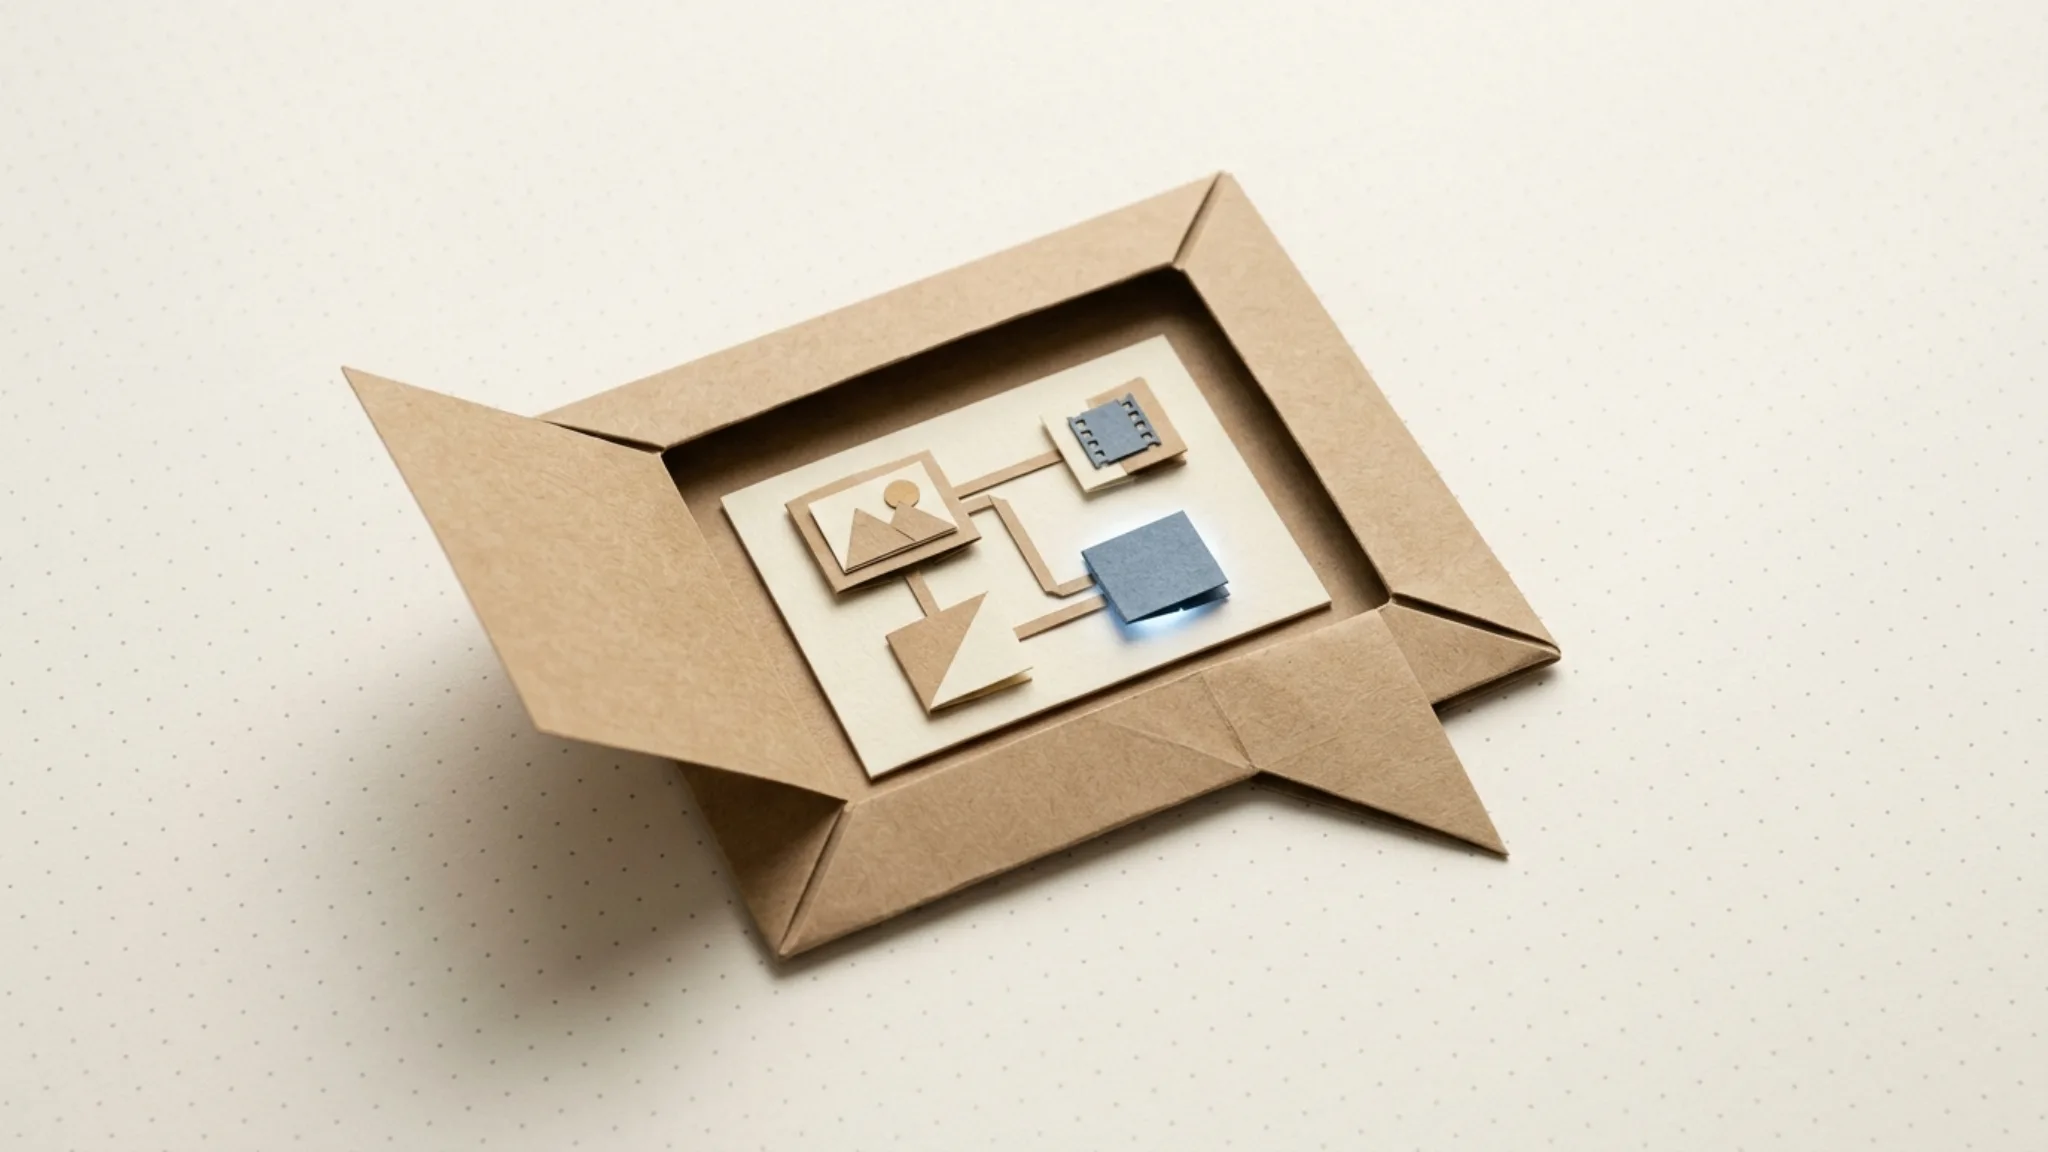
By the end of this guide your assistant, whether Claude or ChatGPT, will have a canvas it can draw on, build on, or run workflows from, rendered right inside the conversation. You'll also know which canvas fits which job and, if none fit, how to ship your own in about forty lines of code.
If you're still deciding whether a canvas is worth it, read why give your AI agent a canvas first. This post is the how.
What you need before you start
- A chat client that renders MCP Apps. Claude on the web, desktop, or mobile works. So do ChatGPT (with developer mode), VS Code with GitHub Copilot, Goose, and Cursor (client matrix). Claude Code does not render the UI yet.
- A plan that allows custom connectors. Claude supports them in Settings → Connectors (check your plan's connector limits). ChatGPT needs developer mode, which OpenAI offers on paid and business plans on the web (OpenAI).
- The MCP URL of the canvas you want. The table in step 1 lists several.
On mobile, add the connector on the web or desktop first. Claude only shows connectors on mobile once they've been added there.
Step 1: Pick the canvas that matches the job
There's no single canvas for everything. Choose by what you want the agent to produce.
| You want the agent to… | Use | Notes |
|---|---|---|
| Sketch, wireframe, think visually with you | tldraw | You can draw too, and the agent sees your edits |
| Draw architecture or flow diagrams | Excalidraw | Streams the diagram in as it's drawn |
| Fill a team board after a workshop | Miro | Writes boards, diagrams, docs, and tables |
| Lay out UI or edit a design file | Figma | Write access is in beta |
| Make social graphics and resizes | Canva | Generates, edits, resizes, exports |
| Build business automations | n8n | Builds, validates, and test-runs workflows |
| Run image, video, and audio pipelines | Orisu | Builds the node graph, estimates cost, runs it |
The split from the previous post holds here: whiteboards are for thinking, node graphs are for doing. If the output should be finished media you can run again next week, you want a node graph.
Step 2: Add the connector in Claude
- Open Settings → Connectors and choose Add custom connector.
- Paste the server's MCP URL. For Orisu that's
https://api.orisu.ai/mcp; for tldraw's canvas it's the endpoint listed on tldraw's announcement. - Click Continue and sign in if the server asks. Orisu uses OAuth, so you'll see a consent screen listing what the connector may do.
- Open a new chat and try something small, such as "list my recent runs" or "draw a three-box flowchart." If the answer uses your real data or a canvas appears, you're connected.
Step 3: Add the connector in ChatGPT
- In ChatGPT on the web, open Settings and turn on developer mode.
- Create a new connector for a remote MCP server, paste the same URL, and choose OAuth when the server uses it.
- Sign in and approve the scopes.
- Ask for something read-only first. ChatGPT auto-approves tools marked read-only and asks before anything else, showing you the exact call (OpenAI). That prompt is expected and is your safety net.
We wrote up the ChatGPT side, including a fix for an early sign-in failure, in you can now run Orisu from ChatGPT.
Step 4: Ask for the plan, not the output
This is where most people under-use the canvas. Don't ask for "an ad." Ask the agent to lay out the work so you can check it before it runs:
"Build a workflow that takes a product photo, writes three hook lines, makes a 9:16 image for each, and turns the best one into a 6-second video. Show me the canvas before you run it."
On Orisu, the assistant builds the graph, validates it, and renders the canvas in the chat: a photo input, a text step that splits into three hooks, three image generators fanned out, and a video step at the end. You can see the shape of the whole job in one glance, before a single credit is spent.
Step 5: Review, change, then run
Read the canvas the way you'd read a brief.
- Is every step there? A missing resize or voiceover step is obvious in a graph and easy to miss in a paragraph.
- Is it the right model per step? Ask: "Which model is the video node using, and why?"
- What will it cost? For anything that fans out, ask for an estimate first. Orisu returns a credit estimate per node before a run, and the run can't spend past the cap you approve.
To change something, say it in plain words: "Make the images 4:5 and add a vertical crop for Stories." The agent rewrites the graph and the canvas redraws. Then tell it to run. On Orisu the canvas shows each node move through queued, running, and done, so you can watch the run instead of waiting on a spinner.
Step 6: Keep the result as a workflow
When the output is right, the graph is the part worth keeping. Name it, rerun it next week with a new product photo, or open it in the full editor with Open in Studio. Every workflow the agent builds in chat lands in the same workspace your team uses, so it doesn't stay stuck in that conversation.
Build your own canvas with MCP Apps
If no existing canvas fits, you can add one to your own MCP server. The pattern from the spec is a tool that points at a ui:// resource, plus that resource serving HTML (MCP Apps overview). The official @modelcontextprotocol/ext-apps package has helpers for both sides.
On the server:
import { registerAppTool, registerAppResource, RESOURCE_MIME_TYPE } from "@modelcontextprotocol/ext-apps/server";

const UI = "ui://my-app/canvas.html";

registerAppTool(server, "show_board", {
  description: "Render the current board as an interactive canvas",
  inputSchema: { boardId: z.string() },
  _meta: { ui: { resourceUri: UI } },
}, async ({ boardId }) => {
  const board = await loadBoard(boardId);
  return {
    // Text for clients that can't render UI, and for the model.
    content: [{ type: "text", text: `Board ${board.name}: ${board.items.length} items` }],
    structuredContent: board,
  };
});

registerAppResource(server, "Board canvas", UI, {}, async () => ({
  contents: [{ uri: UI, mimeType: RESOURCE_MIME_TYPE, text: canvasHtml }],
}));
In the page itself, connect to the host and render whatever the tool returns:
import { App } from "@modelcontextprotocol/ext-apps";

const app = new App({ name: "board-canvas", version: "1.0.0" });
app.ontoolresult = ({ structuredContent }) => renderBoard(structuredContent);
await app.connect();
A few things we learned shipping Orisu's canvas:
- Always return useful text. Clients that don't render UI, including Claude Code, only get the
contenttext. OpenAI's docs say the same: keep tools usable without the component (OpenAI). - Declare every outside domain. Scripts, images, and video from another origin are blocked unless listed in
_meta.ui.csp. If generated media shows as broken images, this is almost always why. - Design for the inline height cap. Inline cards are short. Fit-to-view by default, and offer fullscreen for big graphs.
- Follow the host theme. Hosts pass their colors and fonts to the app. Apply them so the canvas doesn't look pasted in.
Common mistakes
- Testing in a terminal agent and assuming it's broken. No canvas in Claude Code is expected. Check in the Claude app.
- Changing a connector's settings and not re-adding it. Some clients cache a connector's metadata. If sign-in or tools look stale, remove the connector and add it again.
- Letting the agent run a fan-out without an estimate. Twelve videos cost twelve times one video. Ask for the number first.
- Using a whiteboard for production work. A diagram of your pipeline is not your pipeline. If you want it to execute, use a node graph.
Try it with a runnable canvas
To see the full loop with media, connect Orisu at https://api.orisu.ai/mcp and ask your assistant to build a workflow from a brief. The canvas it renders in chat is the same one in the studio. For more ideas on what to build, the AI content workflow guide covers the patterns teams reuse most.
See the whole workflow.
Every step on Orisu is a node you can see, rewire and rerun. Templates are real share pages — open one and inspect the graph.
Common questions.
How do I give Claude a whiteboard or canvas?
Add a canvas connector. In Claude, open Settings → Connectors → Add custom connector, paste the server's MCP URL (for example tldraw's or Orisu's), and sign in if asked. Then ask Claude to draw or build something; the canvas renders inside the chat through MCP Apps.
Do MCP Apps canvases work in ChatGPT?
Yes. ChatGPT renders MCP Apps UI. Turn on developer mode in Settings, add the server as a custom connector, and complete sign-in. ChatGPT asks you to confirm any tool call that isn't marked read-only, so expect an approval step before the agent changes anything.
Why doesn't the canvas show up in Claude Code?
Claude Code and most terminal agents don't render MCP Apps UI yet. The tool still runs and returns its text or JSON result, so the agent can keep working. Use Claude on the web, desktop, or mobile app when you want to see the canvas.
Can I edit the canvas myself and have the agent see my changes?
It depends on the tool. tldraw's MCP App lets you draw alongside the agent and the agent sees your edits. Orisu's in-chat canvas is read-only: you ask for changes in chat, or open the workflow in the studio, where your edits become the graph the agent reads next time.
Is it safe to let a connector render UI inside my chat?
MCP Apps run in a sandboxed frame with no access to the chat page, and every outside domain must be declared up front or it's blocked. Hosts can also require your approval before the UI triggers a tool call. Connect only servers you trust, as you would with any app.